Support Center
Watch our brand product setup videos, read troubleshooting articles, and download PDF manuals.
Video Guides
Video Library
0 GuidesTechnical Articles
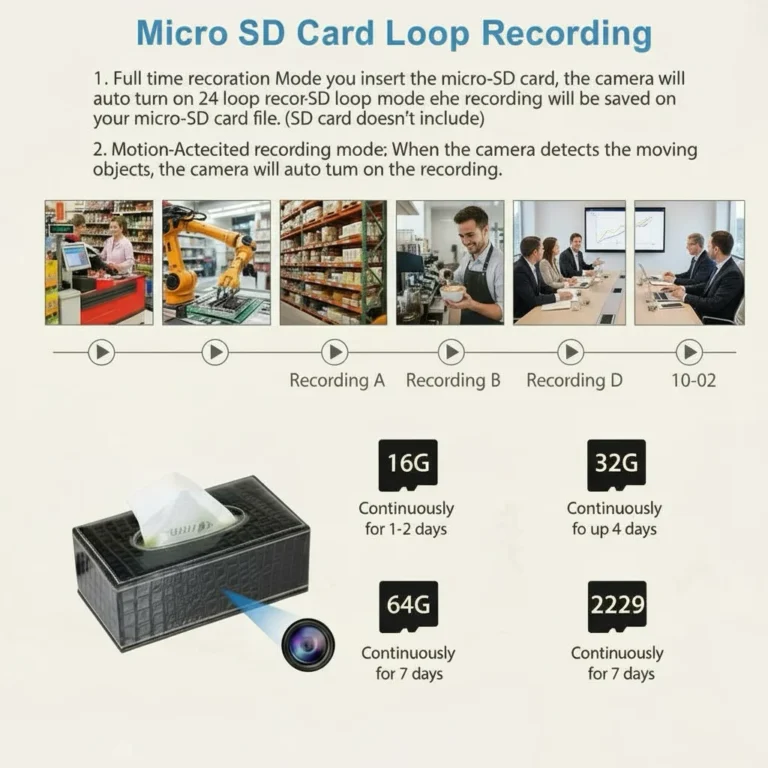
What's Wrong With Your SD Card DVR Camera Storage
What's Wrong With Your SD Card DVR Camera Storage If your standalone...
Read Details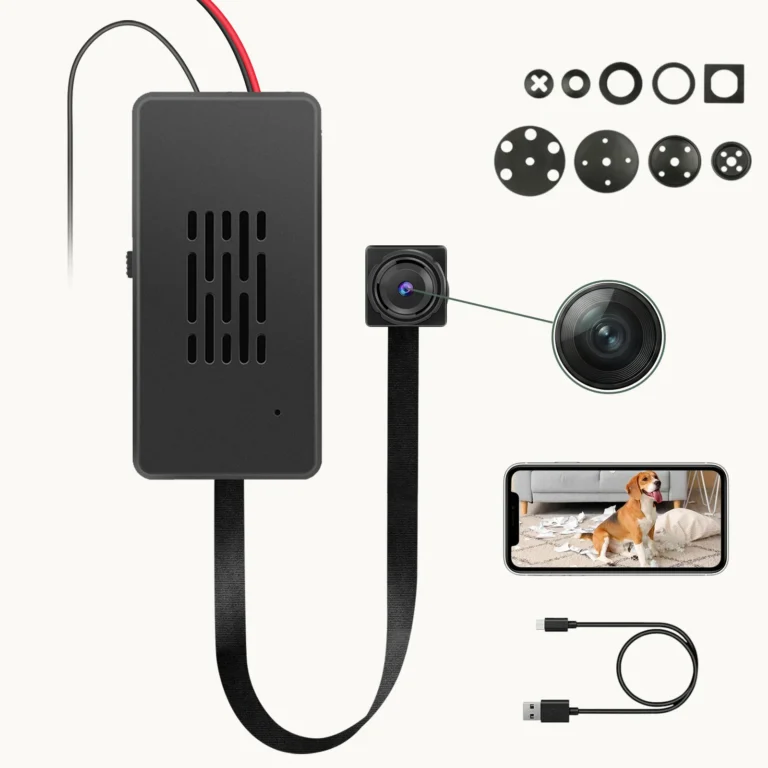
How to Deploy Tuya WiFi Camera Modules for B2B Integration
How to Deploy Tuya WiFi Camera Modules for B2B Integration When B2B...
Read Details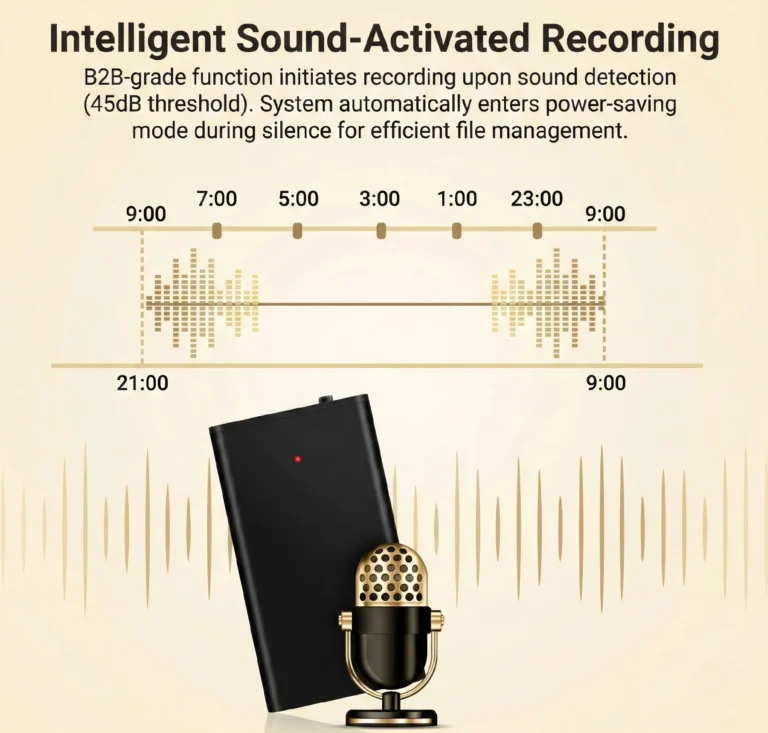
How to Optimize VOR Voice Activated Recording Settings
How to Optimize VOR Voice Activated Recording Settings Voice Operated Recording (VOR)...
Read Details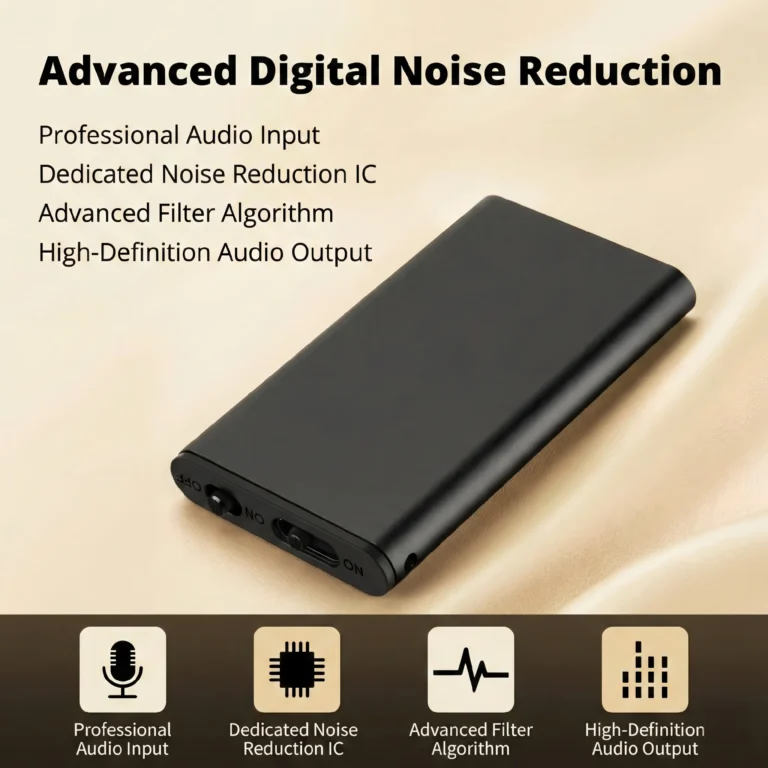
How to Fix Unplayable Audio Files on Voice Recorders
How to Fix Unplayable Audio Files on Voice Recorders If you've ever...
Read Details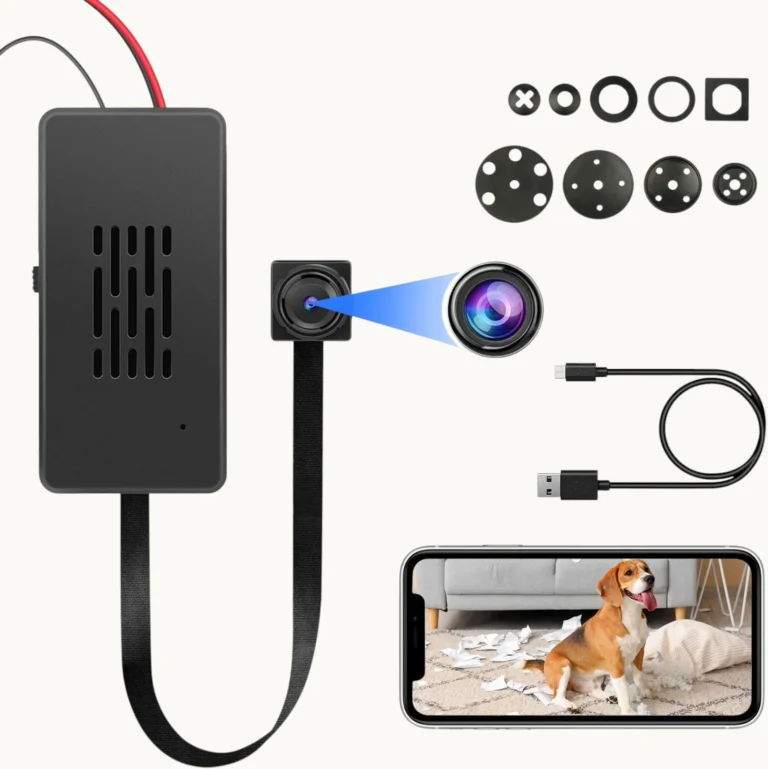
How to Fix Overheating in Tuya C10 Camera Modules
How to Fix Overheating in Tuya C10 Camera Modules When a Tuya...
Read Details
How to Wake Up a Long-Stored Spy Camera Battery
How to Wake Up a Long-Stored Spy Camera Battery If your spy...
Read Details
How to Set Up WiFi and Offline Recording on Tuya Cameras
How to Set Up WiFi and Offline Recording on Tuya Cameras If...
Read Details
How to Fix FAT32 Errors on Voice Recorders and Spy Cameras
How to Fix FAT32 Errors on Voice Recorders and Spy Cameras If...
Read Details
How to Fix WiFi Connection Issues on Your Hidden Camera
How to Fix WiFi Connection Issues on Your Hidden Camera WiFi connectivity...
Read Details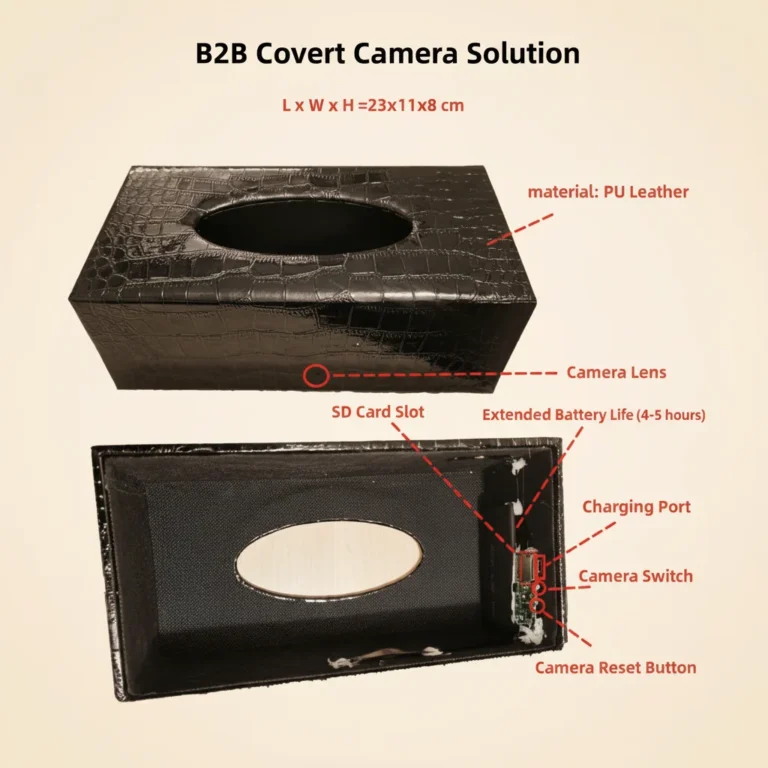
How to Maintain Your Hidden Camera for Long-Term Performance
How to Maintain Your Hidden Camera for Long-Term Performance A hidden camera...
Read Details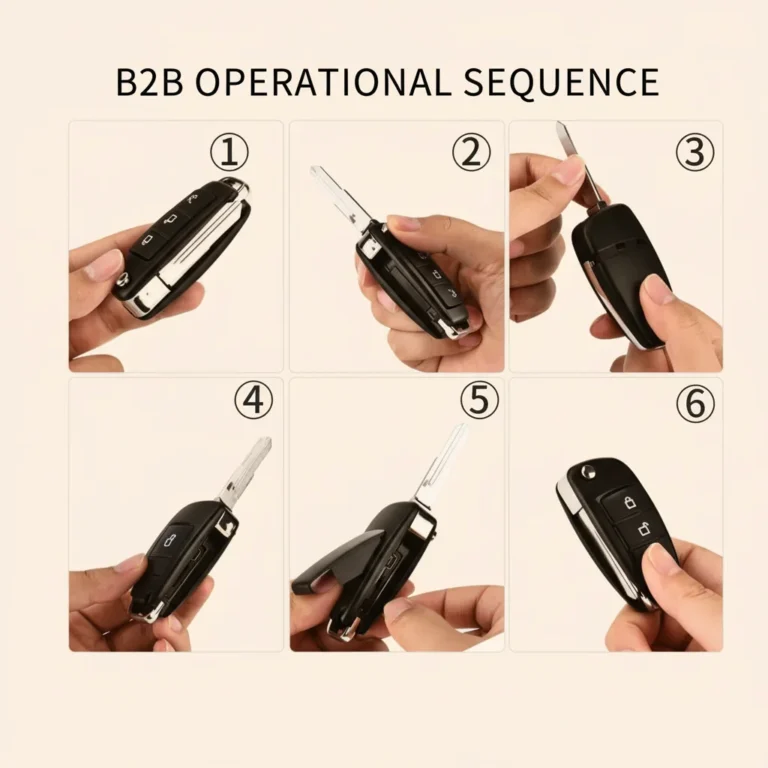
How to Set Up and Format SD Cards for Your Hidden Camera
How to Set Up and Format SD Cards for Your Hidden Camera...
Read Details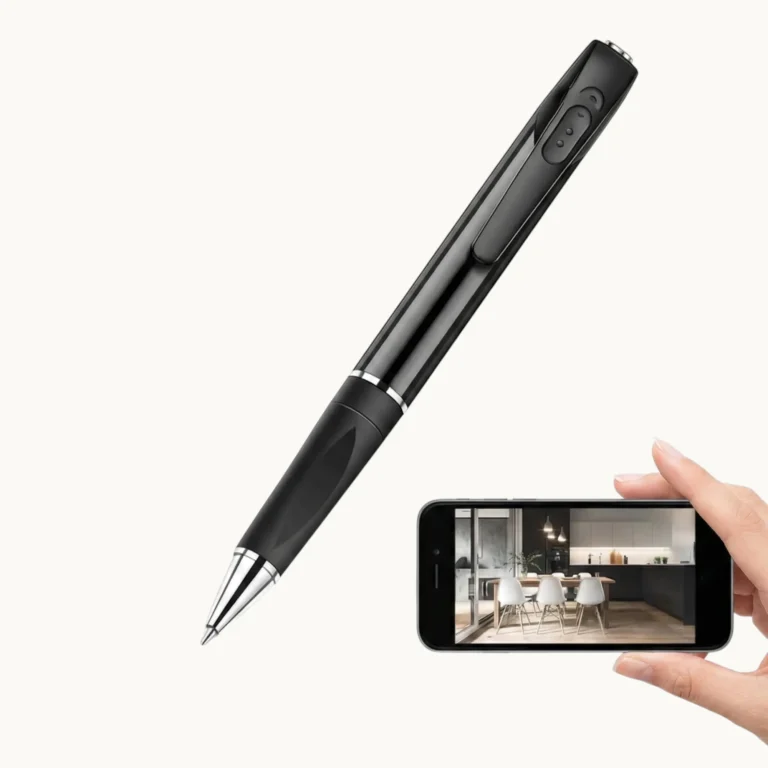
How to Use a Spy Pen Camera: A Complete 2026 Guide
How to Use a Spy Pen Camera: A Complete 2026 Guide You...
Read Details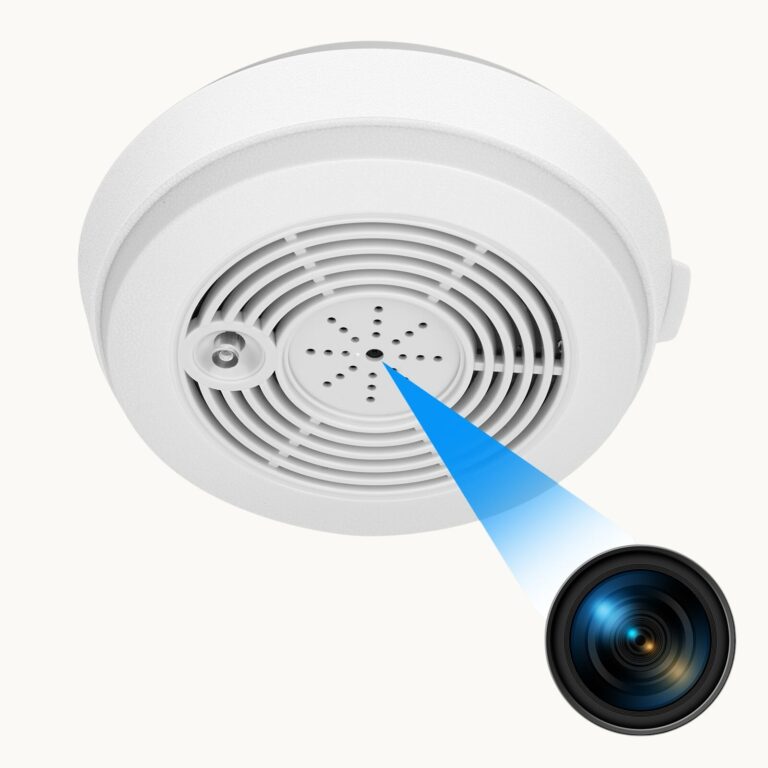
How to Install a Smoke Detector Camera for Home Security
How to Install a Smoke Detector Camera for Home Security A smoke...
Read Details
How to Reset a Hidden Spy Camera to Factory Settings
How to Reset a Hidden Spy Camera to Factory Settings A factory...
Read Details
How to Fix Night Vision on a Hidden Spy Camera
How to Fix Night Vision on a Hidden Spy Camera Night vision...
Read Details
How to Fix Spy Camera Lag, Delay, and Freezing Issues
How to Fix Spy Camera Lag, Delay, and Freezing Issues Lag, buffering,...
Read DetailsPDF Manuals & Downloads
Download official product user manuals and certification documents.
WiFi Cameras
Non-WiFi Covert Cameras
Digital Voice Recorders
Frequently Asked Questions
Why is my device not turning on or not charging?
Why does my recording sound choppy or cut out during quiet moments?
Why can't my computer play the audio, or why do I see garbled files?
If you see garbled/undeletable files: This occurs if the device was unplugged without using "Safely Eject". To fix this permanently, connect it to a Windows PC, right-click the USB drive, select Format, choose FAT32 file system, and click Start.